I finished my first sewing project of the new year on January 2nd! It helped that it was a simple project, but I’m not going to downplay this achievement. It’s way more fun to count it as a good omen for sewing productivity in 2023.

Why would someone need a toaster cozy?
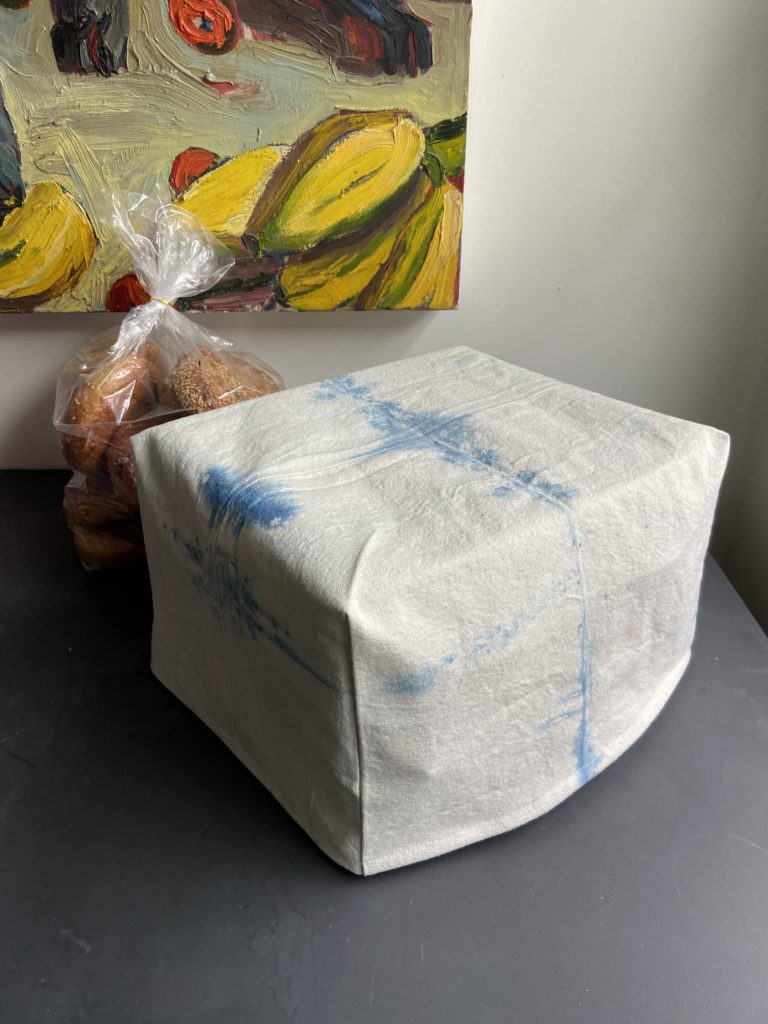
I made this appliance cover (a.k.a.toaster cozy) for our party toaster. Yes, you read that correctly. My husband and I have a party toaster. “What’s a party toaster,” you ask? Well, it’s simply an extra toaster that we only pull out on occasions when we are expecting a crowd to need to toast simultaneously. We got ours a few years ago to use when we host our infamous New Year’s Day bagel party.
Bagel Parties!
In our early-mid 20s my (now) husband and I began a tradition of hosting a bagel brunch at our place on New Year’s day. We’ve done it every year since it started, except for Covid interruptions over the last 2 years. The first new year’s day of lockdown (2021) we held the party virtually to keep the tradition alive. The following year (2022), we had hoped to hold it because we were able to gather again for Christmas. Then there was a huge surge in covid cases, so it wasn’t safe to gather together. I was too depressed to do another online party, and it was the first time we had skipped the bagel party in 10 years.
We weren’t sure about doing this year’s event. We got married in November, which was a lot of work and resulted in an aftershock of debris that I had not anticipated. Leftover flowers, decorations, gift shipments and thank you cards all needed attention. Getting our house in order for a party felt pretty daunting.
Then my dad, who suffers from Parkinson’s Disease, turned 70 during the week between Christmas and New Year’s, so we traveled to celebrate that milestone with him. We were taking it a day at a time and felt the need to stay nimble and not plan too far in advance.
Decision time
Two days before New Year’s, friends were texting to ask if it was happening, and I needed to respond. It was time to make a decision. We checked in with each other and realized we could make it happen with a little team work. We were less precious about preparing this time compared with previous years, but it all came together and was a success.
The bagel party returned! Many of the regular attendees were missed due to illness, but we still had a great crowd of friends new and old to share the day with. Surrounded by friends is really a lovely way to spend New Year’s day. We put out a big spread of toppings: vegan and dairy cream cheeses, onions, tomatoes, radishes, bell peppers, capers, dill. I’m surely forgetting something here. One of our friends is an accomplished canner and we look forward to her contribution every year. Usually she brings her signature apple butter, but this year we had pumpkin butter and plum jam. Both were amazing and I have been appreciating the leftovers in my oatmeal and smoothies.
Bagel Party origin
The idea for the event originated over the course of a few years. We liked a day party because we are both teetotalers and in our 20s it felt like a day party didn’t need to revolve as heavily around drinking. People are welcome to bring their own beverages and consume whatever they choose, but in a day party it feels like there is less emphasis on drinks and more emphasis on quality conversations and genuine connection. When it began most of the friends who came were people we knew from the music scene, so it also felt somewhat novel to see them in the daylight, outside of a club environment. I was also drawn to hosting an anti-diet-resolution party; starting the year off encouraging everyone to enjoy some carbs.
Of course, the bagel party isn’t exclusive to New Year’s. We have held additional bagel parties at other points of the year, it works well any time really. This is why we have a party toaster, and why I decided I needed a toaster cozy.
Less than cozy odors
This year when we got the party toaster out, the first run was accompanied by a disconcerting burning dust smell that was a little off putting. The toaster itself was cleaned prior to storage. There were no old seeds or crumbs in there to burn up. Even though it was partially covered by some boxes of serving glasses, it still managed to collect some dust while it sat unused. I decided on a classic solution: sewing an appliance cover!
Exactly how big is a bread box?
Sewing an appliance cover is actually pretty simple. I started by measuring the toaster. I got the width, height and depth. If it was an imprecise number, I rounded up so that my cozy wouldn’t end up too snug. I drew a little sketch of the toaster to help me keep the measurements straight.

Then I made a diagram of the sewing pattern by translating the sketch measurements to a 2D representation. On my diagram, I added up the adjacent measurements to find out the full rectangle area. Then I added 1 inch to both of those measurements, to account for a half inch seam allowance on either side. That gave me the total size of rectangular fabric that needed to be cut.
I looked through my stash and I found some pieces of canvas that I had previously indigo dyed and decided it would be perfect. The only problem was that the fabric was not the shape I needed. It was a long rectangle a little over half as wide as a I needed. I realized that was perfect! I cut the long rectangle in half and sewed it together so the fabric was now an almost-square rectangle. Just what I needed!

Once the pieces had been joined together, I used a combination of my center finding ruler and my clear gridded ruler to transfer the measurements from my diagram onto my fabric. I cut my rectangle out with a rotary cutter, and drew chalk lines on my measurements to use as sewing guides.I pinned the corners together, took it to the sewing machine, and followed my chalk guidelines. There are only 4 seams required, plus hemming, so this project comes together quickly once you wrap your head around the measurements.
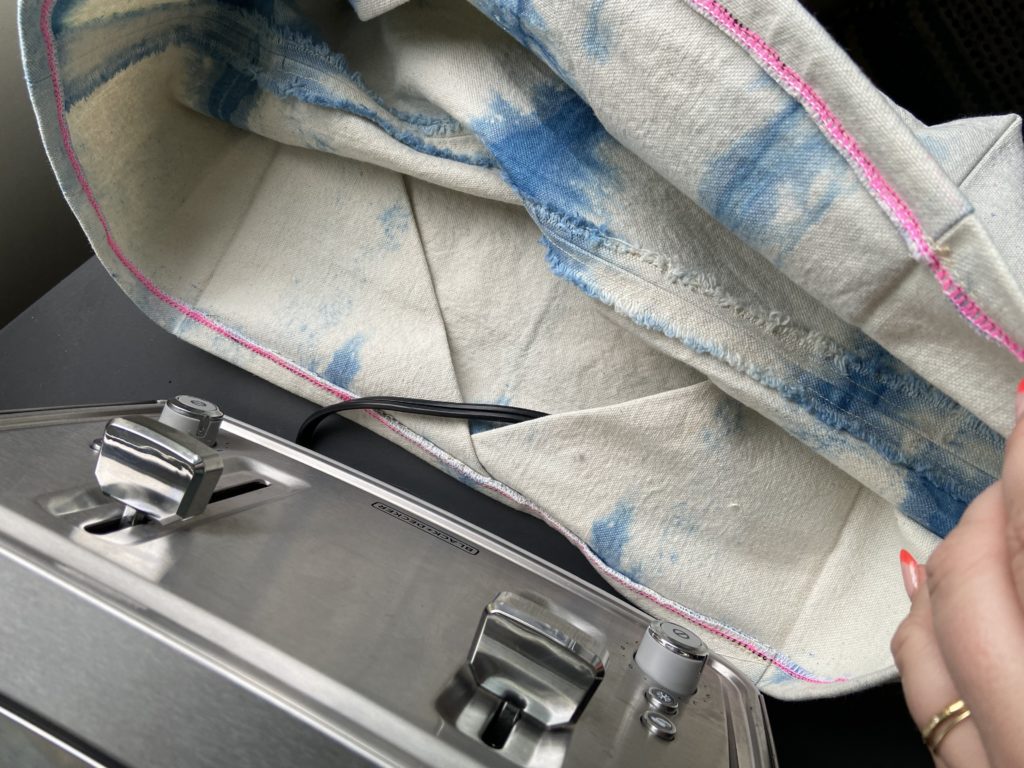
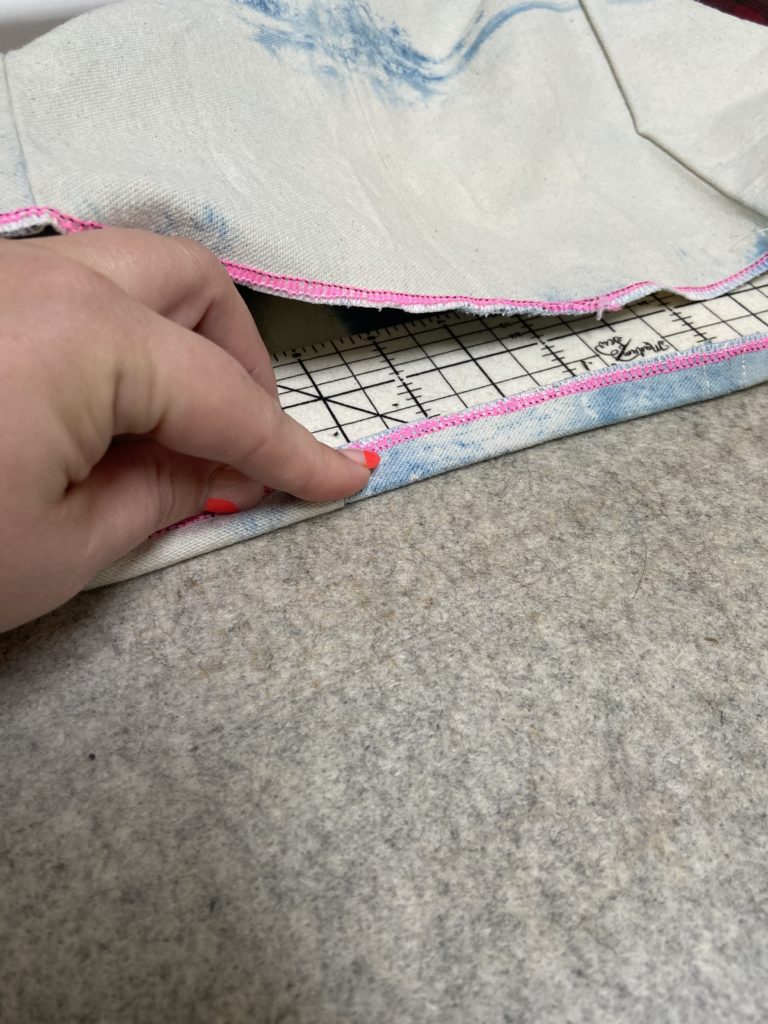
I decided not to trim away the excess fabric at the corners and instead turned the excess toward the main body and sewed a basting stitch at the bottom edge to keep it in place. These extra flaps add stability, and they also double as a pocket. I am using mine to slip the end of the cord into for neat storage. They would also be a great place to keep an instruction manual or recipe cards depending on your needs.

Once I had the flaps basted down, I ran the edge through my serger to finish the edge and tried it on my toaster. It fit great! The length I had cut out included seam allowance, so I took it back to the machine to hem it and then it was done and ready to be admired.


I love how this abstract indigo print brings a fresh, modern spin to the toaster cozy. I think it looks cute on my shelf and I can throw it in the wash if it collects too much dust.
It feels great to see a problem, imagine a solution, and execute it so quickly. I often get stuck transitioning to the execution stage and linger in the “gee won’t it be great when I get around to this idea” phase. Here’s to a year full of action!
It did take me 2 weeks to get around to writing about it… but we only need progress, not perfection.


Comments